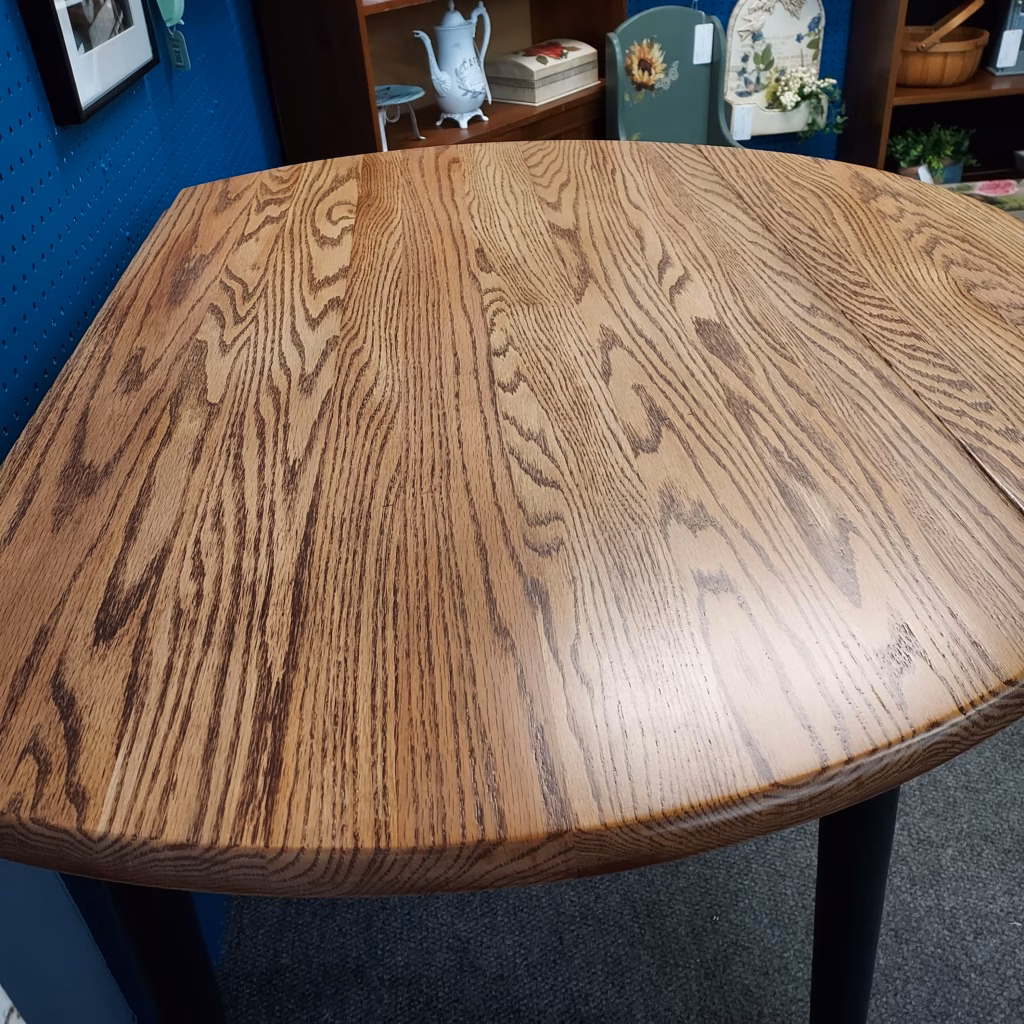
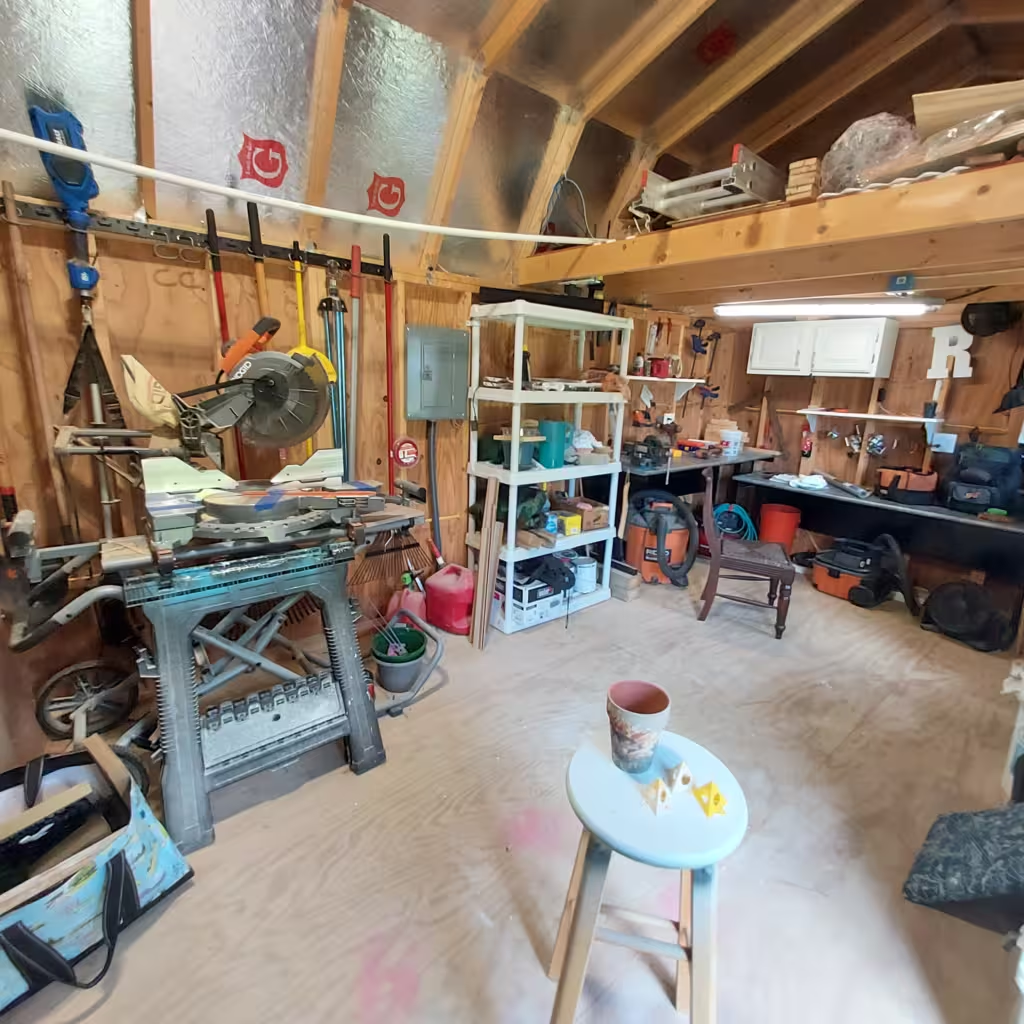
The finished item looks great, right? Often times when we’re looking for items to work on it’s easy to pass by something that has truly been abused. This table is an example. There were many, many layers of varnish and stain on this top. Each effort to remove them exposed another. It can take hours of labor to bring back the original patina. In this case, we had to look up some techniques that would ensure we had a pure unblemished table top.
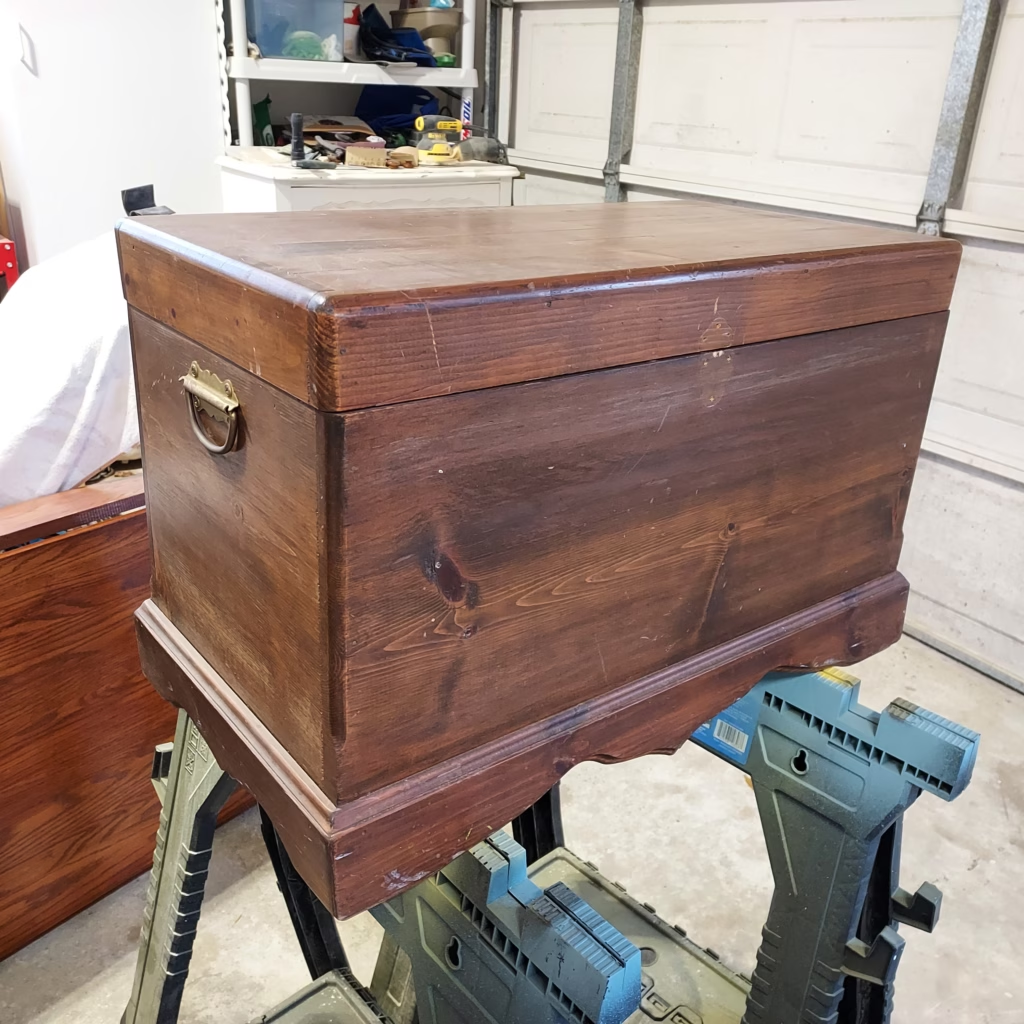
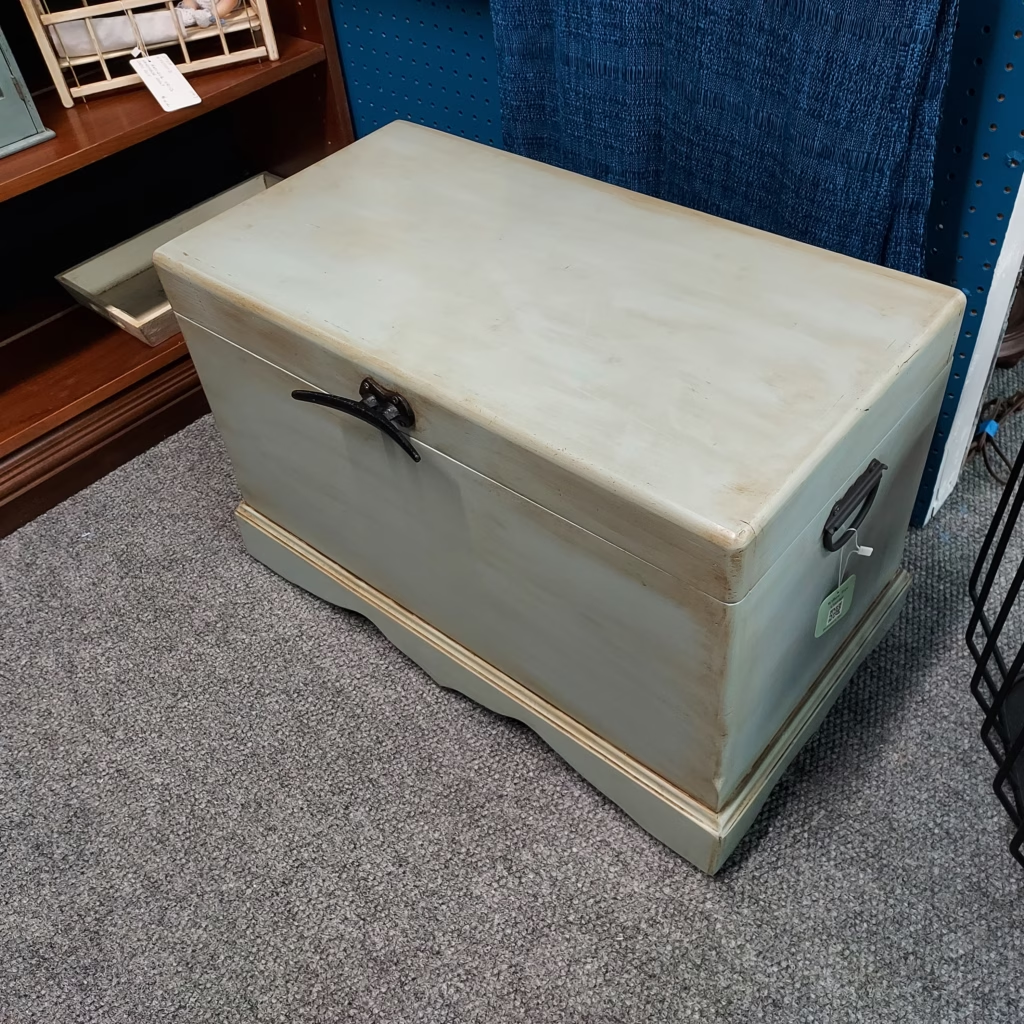
Simply scraping away the varnish did not work. Under that many coats of varnish was a very dark, heavy stain. Something a scraper just couldn’t get to. With steel wool, synthetic sanding sponges and liberal use of finish remover, we finally got down to the raw wood. Then it’s on to sanding and drying the wood to eliminate any residues from our efforts. Next is applying several coats of poly to fill the grain and create this beautiful finish. Notice the color change between the boards. When solid wood is laid up in planks, it’s common for each board to have a bit of uniqueness – that’s nature’s way. The legs we painted in black, to offset the lighter colored top and to compliment the current designing trend of blacks and greys. We hope you agree this one is a home run rescue!


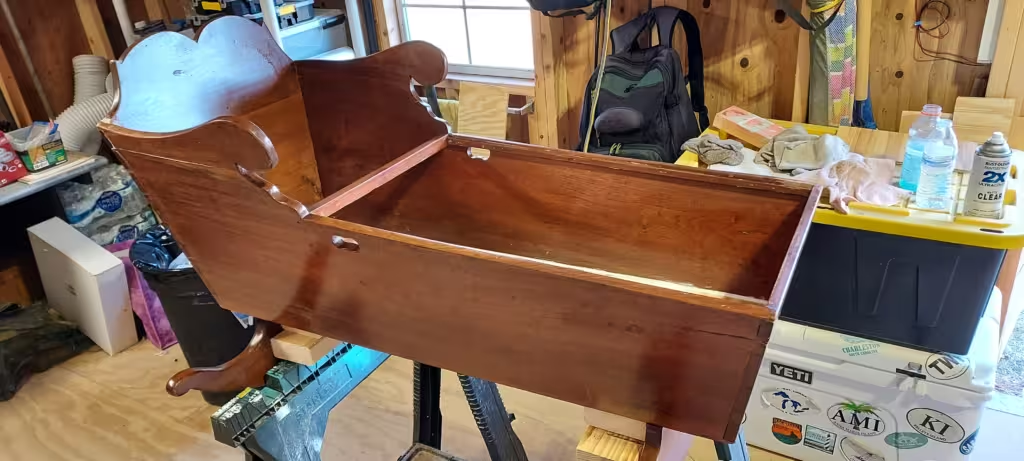

Thank you Marj! A labor of love for sure.